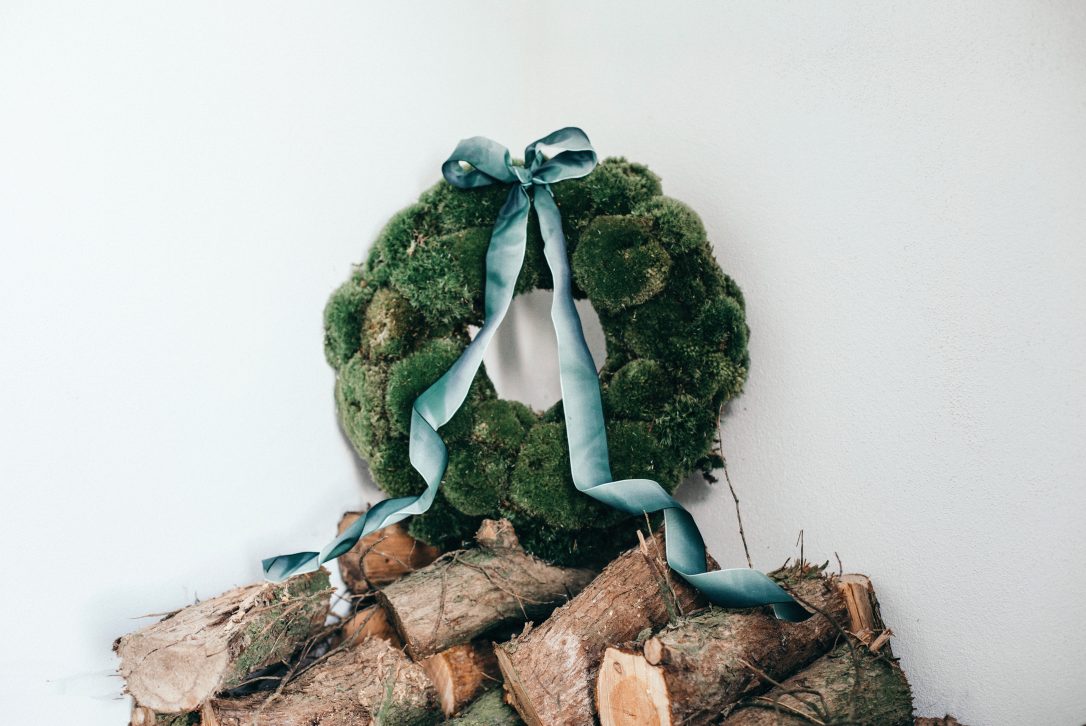
There's nothing like a spot of wreath making to get you in the Christmas spirit. Follow our step-by-step guide to making a contemporary but natural moss wreath.
If you fancy a change from the traditional, why not create a wreath from moss this year? Put on some Christmas tunes, get the children involved and follow this step-by-step guide by stylist Elle Winsor Grime of the Artful Events Company.
_0158.JPG) The children will love helping with the wreath making
The children will love helping with the wreath making
"This year’s interior trends have been heavily influenced by nature, with botanic styling being a key feature in many interiors schemes. Pantone Greenery has been the colour of the year, so with this in mind a Moss wreath is just the thing for Christmas 2017!"
 Elle Winsor Grime of the Artful Events Company is an experienced stylist
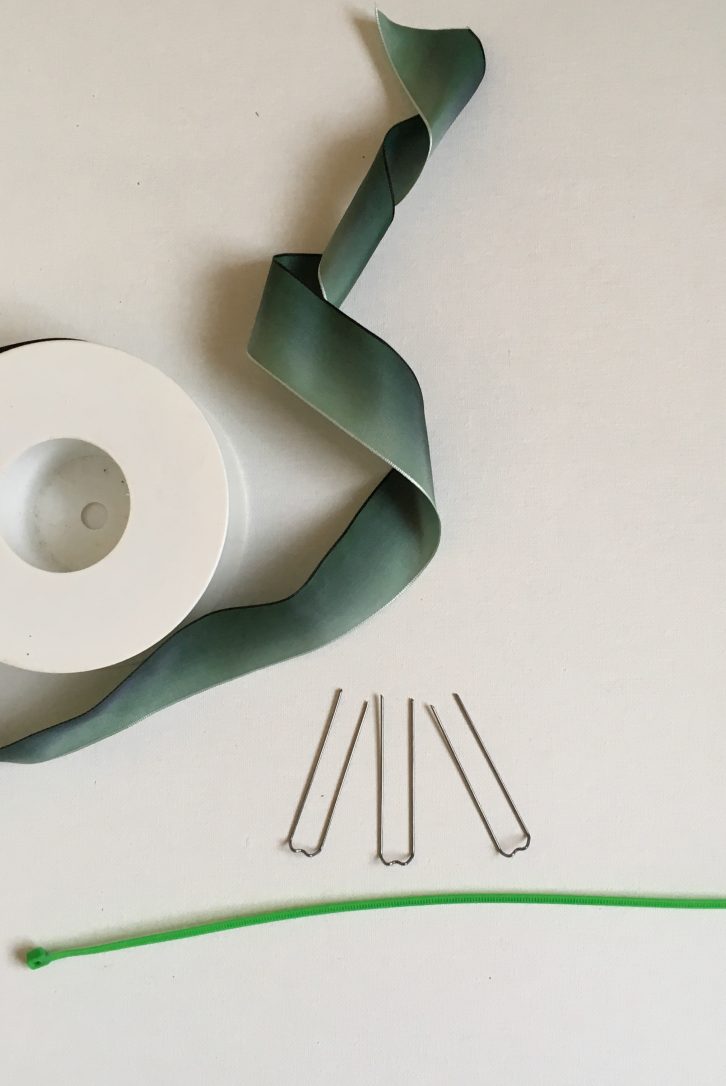
What you will need
- Straw wreath or moss covered straw wreath
- Mossing pins (German pins)
- Wire
- Cable tie
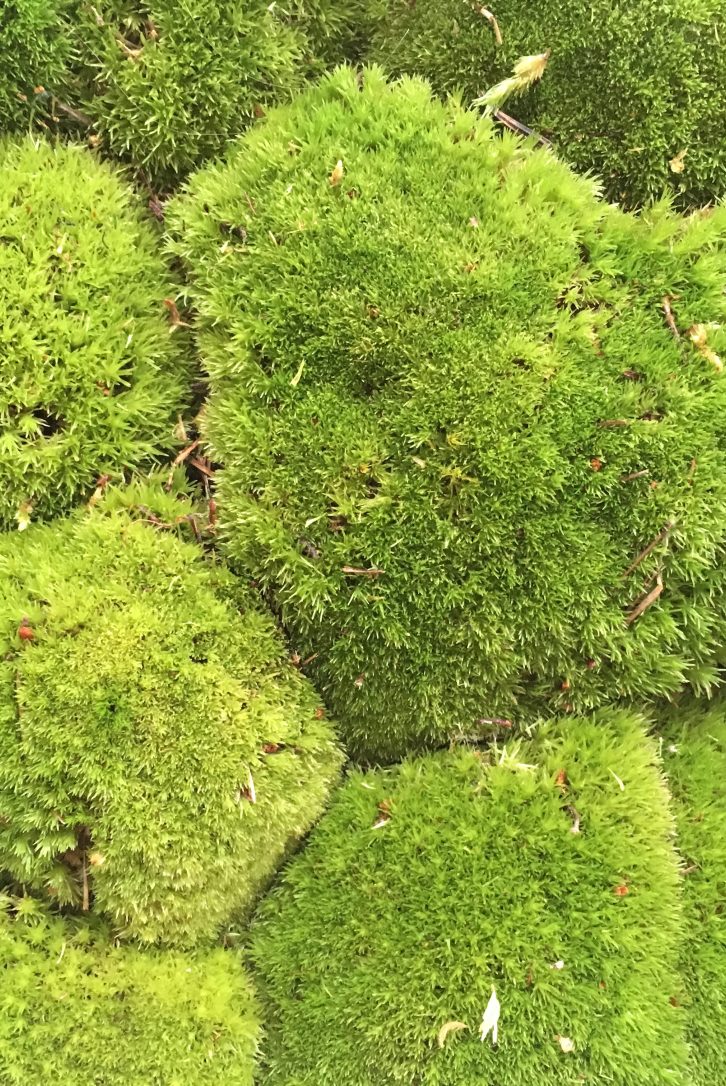
- Moss (decorative cushion moss)
- Ribbon to decorate

 The children will love helping with the wreath making
Step 1
Purchase a moss covered straw wreath ring from your local florist or market. I prefer to use a moss covered wreath rather than just a straw wreath, as I find that the moss will keep growing and form roots into the underlying layer of moss, this means that you should be able to keep your wreath beyond Christmas, maybe even adding some additional décor for spring of even Easter!
Soak this wreath ring in water.
_You_will_need_.JPG)
Step 2
Tie a cable tie around the wreath to create a fixing point. Your wreath will be quite heavy when complete so you will need to create a secure hanging hook on your door or wall.
_Attach_Cable_Tie_to_wreath_.JPG)
Step 3
Take small pieces of the cushion moss and secure to the moss covered side of your straw wreath ring with mossing pins. These pins also known as German pins can be purchased from most floral suppliers.
You can create your own with thin garden wire cut into lengths and doubled over. Take care to push the pin well into the moss wreath, but don’t depress your cushion moss to far, or it will lose its lovely shape!
_Pinning_Moss.JPG) The children will love helping with the wreath making
The children will love helping with the wreath making
Step 4
Keep adding balls of cushion moss to your wreath, being sure to keep turning the wreath frequently to check that you are maintaining a circular shape. Fill the front and sides of the wreath covering all of the existing moss.
You may find it useful to roll the balls of moss in your hands before attaching to achieve a really effective finish.
_Keep_Pinning_Moss_.JPG) The children will love helping with the wreath making
The children will love helping with the wreath making
Step 5
The wreath looks great on its own, but you can use your mossing pins to attach some foliage or a bow of ribbon if you wish! Now you are ready to hang your wreath on your door - the perfect welcome for seasonal guests!
 The children will love helping with the wreath making
Step 6
To keep your moss wreath looking fresh spritz with water spray every couple of days. At the end of December if you wish to keep your moss wreath soak the straw wreath in a shallow tray of water and keep your wreath outside, straw side down on a flat surface somewhere cool.
If you think you will fancy a change for next Christmas simply strip the moss from your wreath, and keep the straw section, after drying out for next Christmas!!
 The children will love helping with the wreath making
Elle offers interior and event styling. To find out more about her please visit her website.


